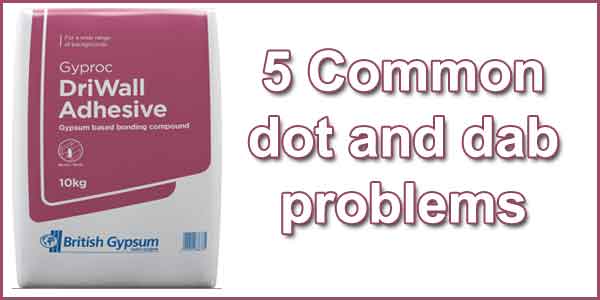
Dot and dab is a common method of fixing plasterboards. The process is quite quick and simple, hence the reason it is quite popular.
It is generally seen as a quick and affordable way to prepare walls for plastering, with limited mess and disruption.
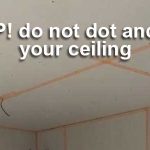
However, dot and dab is not without its problems. As with anything that is quicker and cheaper, there are often downsides. In this article we will be looking at 5 common dot and dab problems that you may come across.
Cold drafts coming from behind the boards
This is quite common, especially in older cavity wall properties, where there is no insulation installed. If your house was built prior to the 1990’s, there is a good chance you don’t have cavity wall insulation.
In a property with a cavity wall, it is common for the internal wall to be some kind of blockwork. Unlike the external skin, this is not usually seen, as it is covered internally. Due to this, the walls were often build much quicker with less care. As a result, the masonry will often have cracks and gaps in the mortar, that allows air to enter from the cavity.
This cold air from the cavity can end up circulating behind your plasterboard, where dot and dab has been used.
Another problem, is the air moving behind boards and escaping through sockets, switches, and the bottom of the wall. This again comes down to slightly rough workmanship.
Best practice when fitting plasterboards with adhesive, is to ensure a solid line of adhesive is installed around the edges. As well as solid ribbons of adhesive around any sockets and switches.
By creating a solid band of adhesive, the air is unable to escape. However, this process takes longer and uses more materials. Hence it is more expensive and time consuming for the person installing it. As a result, this is very often neglected.
When the adhesive has gaps, cold drafts through things like sockets can easily enter the home.
Dabs popping of the wall
Drywall adhesive relies on suction and also requires a good key on the surface it is sticking to. If the dot and dab does not form a strong bond, it is likely to come away from the surface.
Different surfaces have different requirements. For example, applying dot and dab over a flat, clean, solid block wall, will be different to an uneven, old dusty stone wall. The prep for each surface will be different.
Essentially, the goal is to completely remove any dust, debris, and loose materials from the surface. Also, you will usually need to seal the wall and reduce suction. This can be done by applying a dilute PVA solution to the surface prior to installation. This will avoid too much moisture being drawn out of the dabs too quickly.
As you can see, the preparation here is key. As the saying goes, “fail to prepare, and prepare to fail”.
Another less common problem, is boards popping of the dabs. This could happen if moisture was pulled from the dabs too quickly, or if the back of a board was particularly dusty. It would also happen if you tried to fit foil backed boards with dot and dab.
The foil vapour barrier on this type of board, would allow zero suction, and the boards would almost definitely be off the wall within 24 hours.
Dabs showing through the plaster
This is quite common, especially when you dot and dab a cold wall. This could be any wall that backs onto the front, back, side, or gable end of a property. Basically, any wall that has the outside on the other side of it.
It is not uncommon for the dabs to show through the surface. This is often confused for damp coming through the dabs. However, this is not always the case.
Due to the wall being cold, the low temperature transfers into the dabs. These will often be significantly colder to the touch, compared with areas of plasterboard with no adhesive behind them.
These cold spots create a dew point. This is an area which attracts warm moist air, causing condensation to form. It is the same process that causes condensation on other cold surfaces such as windows.
The moisture is naturally drawn to cold surfaces where the vapour condenses into liquid. Subsequently, this soaks into the plaster surface, creating damp patches on the dabs.
One way to avoid this, is to dot and dab insulated plasterboards. This will avoid cold dabs and remove the dew point from the finished surface.
Penetrating damp
Whilst the above scenario is often confused for penetrating damp, that doesn’t mean it isn’t still a potential issue.
If water does enter the property from outside, the dabs provide a convenient bridge to the plaster on the other side.
Plaster is extremely absorbent, so contact with water can soak in quite easily and cause damage.
Another way water can enter the boards is from the bottom. Best practice states, that boards should be lifted off the ground slightly when fitting.
By leaving a small gap below the board, you remove the risk of water soaking from the bottom.
Dot and dab is harder to fix too
The last problem is something that happens after the wall is installed. One of the biggest issues with plasterboard, is fixing other things too it.
There are plasterboard fixings available that can help with this, especially for lighter objects, such as small shelves and pictures. However, fixing larger objects such as TVs and heavy mirrors can be more of a challenge, especially when there is a larger gap behind the boards.
Fixing heavier items will usually require specialist fixings that penetrate the wall behind the plaster. These fixings also use specialist plugs, that avoid pulling through and damaging the boards.
Conclusion
Dot and dab can be an easy and affordable solution for boarding and plastering walls. With that said, it is not without its problems. The correct prep should always be carried out to ensure the best end result.