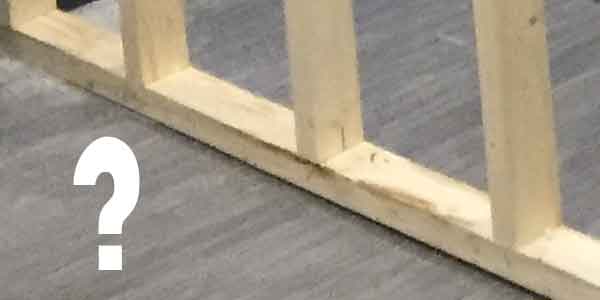
A stud wall is a very common feature in modern homes. They are constructed with timber and are commonly finished with plasterboard and then usually skimmed with plaster. Once they are finished, they will look the same as any other wall.
The main advantage is the are easier to build. Cause less mess, and you can run wires and pipes inside them. This makes them very useful for all your plumbing and electrics which can easily be hidden away inside the wall. They are also very handy for adding insulation.
Unlike a solid wall made from bricks or blocks a stud wall will need to be fixed to the surfaces around them. A brick wall on the other hand is already fixed in place. This is because it is built on a bed of mortar which sets hard and creates a solid base for the wall.

When fixing your studwork to a concrete floor or any other solid surface you will need to use plugs and screws. This will require you to drill holes through the studwork into the floor.
Once you have the base plate (timber) in the right position you should drill holes and insert the plugs. These should be hammered flush with the upper surface of the wood. Next you should place a 4inch screw in the plug and give it a small twist, so it bites into the plug. Then hammer the screw until roughly 2/3 is below the surface.
At this point your plug will be in the ground below your timber, and you can use a screwdriver to fully wind the screw into the plug. As you screw into the plug it will expand in the hole, creating a very solid fixing.
Continue in this fashion until you have a good fixing at either end, as well as a screw every 400-600mm along the base of the wall.
Tools you will need to fix studwork to concrete
To fix your studwork in place, you will need several tools and materials to get the job done properly. Obviously to start with, you will need the timber and correct size fixings to build the timber frame.
The most common wood used would be something like 47mm x 75mm CLS. For the fixings to build the frame, you will have a choice of 100mm (4 inch) nails or screws. Or if you are lucky, you may have access to a nail gun, which would make building the studwork much quicker and easier.
For actually fixing the studwork to your concrete floor, you will need the following:
- SDS drill – You will need this to drill the holes through your soleplate and into the concrete floor.
If you don’t already own one you have two options. Firstly, you could get a cordless SDS (this is a little more expensive), alternatively you could opt for corded option. You will have the choice of 240v or 110v. If you end up buying 110v just remember you will need a transformer to use standard 240 plug sockets. - 7mm SDS drill bit – To use your SDS drill you will need a specific kind of drill bit that will fit your drill. These are relatively affordable and can be bought at any good local builders’ merchant.
- Brown plugs – This size of plug will give you the best fixing with a 7mm drill hole and 4inch screws.
- 4 inch (100mm) multipurpose screws – Not only can these be used for fixing your studwork to the concrete floor. But you can also use them to build the frame, if you opt for building your studwork with screws as opposed to nails.
- Cordless drill/driver – You don’t strictly need this. In theory you could just use a screwdriver and fix the screws by hand. With that said, a cordless will make the process much faster. Plus, there are decent affordable options available, and they will last for years. So, you can keep using them on future jobs.
Conclusion
As you can see fixing studwork to a concrete floor is quite a simple process. If you follow the simple steps laid out above, you will have a stud wall with a nice solid base that will not move at all.
As a result you should have a wall that will last forever and will it will be just as good as any solid wall in your home.


